Installation Instructions for Stone Manufacturing
The manufacturer does not provide installation instructions when they ship their products as they are normally installed by trained personnel. Since you are buying these products online, you may likely be installing them yourself as do most of our customers. Below are general instructions which will most likely apply to the screen or door you purchased, but since these are highly customized products, each one may differ slightly. If you are installing a bar with mesh curtains, you can download the instructions here: Bar and Mesh Instructions
Pre-Installation
Before you get started, it is a good idea to take the following pictures and email them to us so we can easily answer any questions you have about the installation:
- Open the hardware packet and take a picture of the organized contents.
- Take a picture of the front and backside of your door frame or screen.
- Take a picture of the fireplace opening.
- Email these pictures to: info@fireplacetreatments.com
Basic Instructions
Overview: There are bendable brackets that attach to the back of the frame with small screws and lock washers. The brackets are held to the fireplace with masonry anchors and screws on the bottom and sides of the fireplace and self tapping screws for the lintel at the top. That's it in a nutshell, but here are some detailed instructions:
Detailed Instructions
- Be sure to keep your fireplace frame and doors on a soft towel or blanket to prevent it from getting scratched.
- Attach the brackets to the back of the frame using the small screws and lock washers
- Place the frame against the fireplace.
- Bend the brackets so they lay flat on the fireplace bricks on the bottom and sides inside the fireplace and flush with the lintel at the top.
- Make a mark in one of the slots for each bracket and remove the frame to drill holes, or hold the frame in place while you drill the holes through the selected bracket slots. I found it quicker and easier to do this while the frame was in place. You may want to have someone help you by holding the frame while you drill the holes and bolt down the screws.
- Using a 5/16" masonry bit, drill the holes about 1 1/4" deep so the lead anchors will go all the way in.
- Tap the lead anchors into the holes.
- If you are doing this with the frame in place, start with one of the top side brackets, drill the hole, tap in the lead anchor through the bracket and drive in one of the 5/16" hex screws (w/washer) with a ratchet to hold the frame against the fireplace so you can do easily drill the rest of the holes without having to hold the frame. It is easy to do this by yourself if you have your drill, ratchet, screws and washers all within hands reach.
- When tightening the mounting screws, do not tighten them completely until you have aligned the doors.
- Once you have all the holes drilled, anchors tapped in and hex screws w/washers screwed in loosely, it is time to drill the lintel.
- Use a 11/64 metal drill for the lintel. There are hex nut self-tapping screws w/washers that are used to hold the brackets to the lintel.
- Once you have the door mounted, put the doors onto the frame with the handles at the top by slipping the hinges over the hinge pins.
- Adjusting the doors: If the doors do not line up properly at the top or bottom, then the frame is slightly "racked". To fix this you need to pull the frame out slightly on the opposing top and bottom corners (diagonally) to get the doors aligned. For example: if the right side door sticks out at the bottom center, the left bottom corner and top right corner of the frame needs to come out a bit. Once you get the doors lined up properly you can tighten down all the brackets being careful to keep the doors aligned.
- If the mesh curtains are not already attached to the doors, follow the instructions below
Instructions for Attaching Mesh Curtains
Follow these instructions for attaching each of the 2 curtain panels to each side of the curtain rod
Parts List:
- 2 Mesh Curtain Panels with Stiffener Rods on one end and rings at the top
- 2 Springs
- 2 Finial Pulls with Chain and Ring
- 1 Curtain Rod with S-Bend (already attached to the door)
- 2 Sleeve Clips (may already be attached to ends of curtain rod)
- Place the screen or door face down on a soft, clean surface & slip the Curtain Rod off the Support Arms at each end.
- Remove the Sleeve Clips from each end of the Curtain Rod taking note how they are positioned as they must go back facing the same direction.
- On one side of the curtain panel there is a stiffener rod with 3 rings spaced closely together at the top. This will end up in the center. Begin by sliding the 3 rings onto the curtain rod first.
- Slide on the spring
- Slide on the ring with the short chain and fob (used to open and close the curtains)
- Slide the rest of the rings for the mesh curtain onto the rod.
- Replace the Sleeve Clip on the end of the Curtain Rod with the long protruding strip facing away from the center (how it was initially).
- The last ring in the Curtain Mesh should now be placed on the end of the Clip & the long protruding strip should be bent over to hold the last ring in position at the end of the Curtain Rod.
- Hook the Curtain Rod back onto the Supporting Arm with the last ring outside the support arm.
- Repeat for the other mesh panel
MAINTENANCE AND CLEANING INSTRUCTIONS
The door frame is made tarnish resistant with a heat resistant hard protective enamel coating that can be cleaned with a dry or damp soft cloth or facial tissue. DO NOT use polish or any cleaning solution, especially anything abrasive. A light coat of carnuba wax can be applied, but is typically not necessary as the enamel is very high quality.
The Curtain Rod is dry lubricated for easy operation. For continued ease in opening and
closing rub a small a small amount of Powdered Graphite (available at you local Hardware
Store) along the top of the Curtain Rod as needed.
Always burn a fire with the glass doors open. Do not allow hot ashes or coals to gather around door frame, the direct heat from these
will mark the finish. You can close the doors once the fire is dying out to prevent air from coming in and out of the chimney.
Always remember that for the proper operation of your Fireplace the damper should be ALL THE WAY OPEN!
Email questions to: info@fireplacetreatments.com
Message From Greg
"I have a passion for designing custom fireplace treatments, and have been doing so for over 35 years. The designs I create are not only tailored to fit perfectly, but fashioned to compliment your room decor and turn your fireplace into a tastefully finished focal point. Take advantage of my Free Design Service and let me show you the possibilities." Here are just a few reasons why you might consider buying from me:
- I create FREE Mockups so you can see how various screens and doors will look on your fireplace.
- I have over 35 years experience selling and installing fireplace screens and doors.
- I was the very first to start selling fireplace doors online in 1994.
- I have a wide variety of material options and exclusive designs you will not find anywhere else.
- I do not claim to be the cheapest, but my prices are competitive and I take pride in offering incomparable service.
- I am the sole proprietor. You will work with me directly, not some random corporate employee.
- I love what I do!
Greg Tillotson (Owner/Designer)
FREE Fireplace Design Service
Get Free Mockups & Quote
Include These 3 Photos:
Photo #112 feet away directly in front of fireplace.
 Camera Sideways Camera Sideways
|
Photo #2Closeup of fireplace opening sqaure as possible.
 Camera Sideways Camera Sideways
|
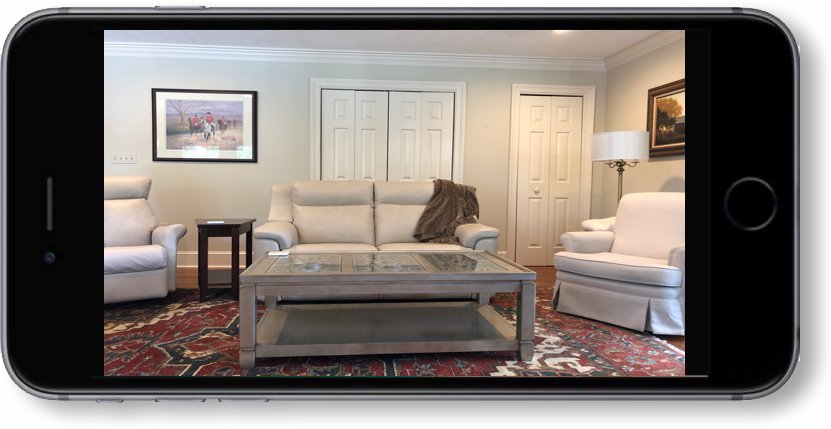
Photo #3Back to the fireplace looking out at room.
 Camera Sideways Camera Sideways
|
IMPORTANT: Remove everything from in front of the fireplace before taking the pictures!
Then Submit This Form!
Or, Email: greg@fireplacetreatments.com