Email pictures to: greg@fireplacetreatments.com
Every fireplace is different and how you go about measuring depends on the nuances of the fireplace and door you choose. Once we see your fireplace we will give you personalized instructions on how to measure it. These are the instructions for the typical rock fireplace you see below.

Tape a torpedo level to a straight board that is cust just a little smaller than the fireplace opening. Position a level vertically along the right side of the stones inside the opening where you wish to install the door. With the bubble level, make a mark on the hearth at the bottom of the board. Be sure to mark the correct side that lines up with the narrowest stone. Some doors have a subframe that projects 2" back behind the door, so it is important to take this into consideration. If there are stones that protrude further as you go back, move the level back 2" from where the door will be installed and make the mark there.

Repeat step 2 on the left side of the fireplace to mark the narrowest point on the left.

Measure the width between your marks at the bottom. This will give us the narrowest width between the stones.

If the hearth is flat, measure the height from the hearth to the bottom of the lintel or lowest point of the opening, checking about every 3 inches. You do not need to write all of these measurements down, you are just looking for the lowest and highest point. We will want both of those measurements. If the hearth is stone and irregular, I suggest using a level to find the hight point of the hearth and low point at the top and measure between those two points.
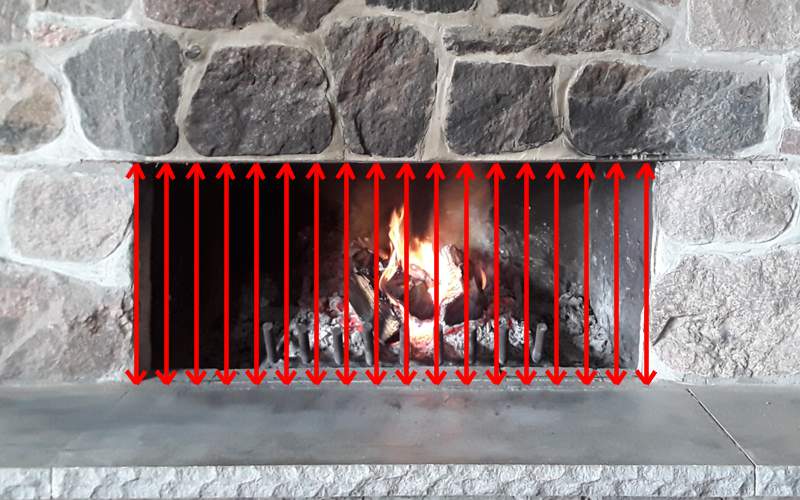
Template: Once you have your final measurements, cutting a perfectly rectangular template from stiff cardboard or plywood to those dimensions to test the fit is a good idea, particularly for fireplaces that are rough on all 4 sides.

This is how the door will fit the fireplace. For the width, we will make the door frame about 1/4" to 1/2" narrower on each side than where you made your marks, so the door will be about 1/2" to 1" less in overall width than your narrowest width. For the height, we may make the frame 1/4" to 1/2" shorter or 1/4" to 1/2" taller than the shortest height depending on the door you choose. In this example, we are using a cutback frame that overlaps the lintel by about 1/4", so we are going to make the door 1/4" taller than the lintel. Using a cutback frame like this makes the installation easier because you only need to mortar in the sides. However, this does not work in many cases where the lintel is recessed, so mortar is often necessary on the top as well. There are 4 brackets that must be attached to the masonry inside the fireplace using lead shields and anchor bolts. The instructions show how this is done.
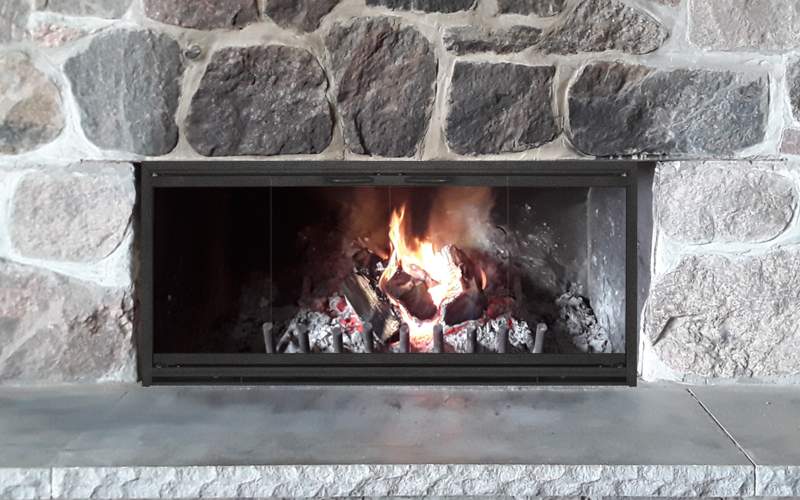
Once you attach the door to the fireplace with the mounting hardware that is included, you will want to adjust the doors to make sure they are aligned correctly. This is of major importance because once you apply the mortar, you will not be able to adjust the frame. After the doors are all lined up, you can remove the doors from their pins and then mask off the frame and rocks around the opening. You will then fill in the gaps with mortar. We recommend Quikrete mortar, which is available at most home centers. If your mortar joints are colored, you may want to consider adding some mortar color to the mix, which is also available from Quikrete. Coloring the mortar can be a challenge to get a match and may require some testing. If you mix the mortar to a clay like consistency, you can work it into the gaps with one hand while reaching around the back side of the frame to hold it in place as you press it in. You will want to mix small batches because when mixed at this consistency, it can harden pretty quick. Looks great, doesn't it!
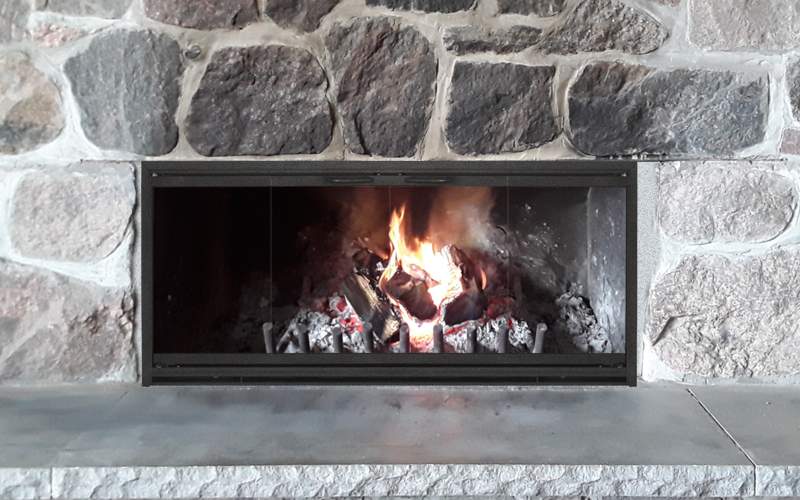 After door has been mortared in. Looks great, doesn't it?
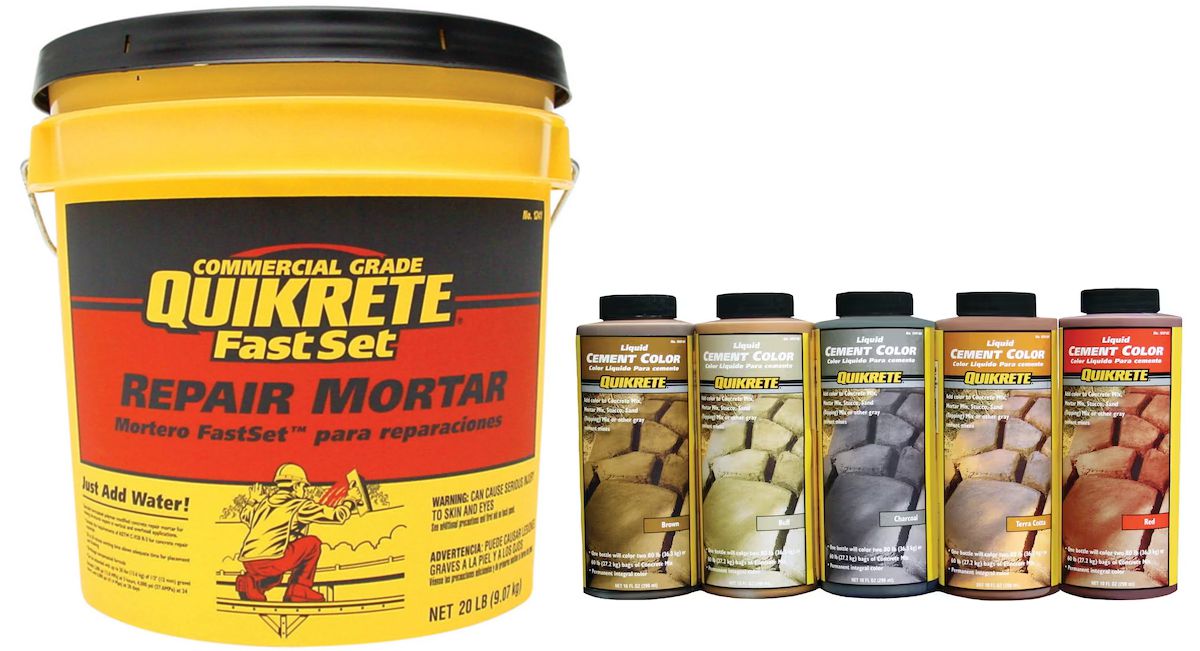 Quikrete mortar and color is available at most home centers or online.
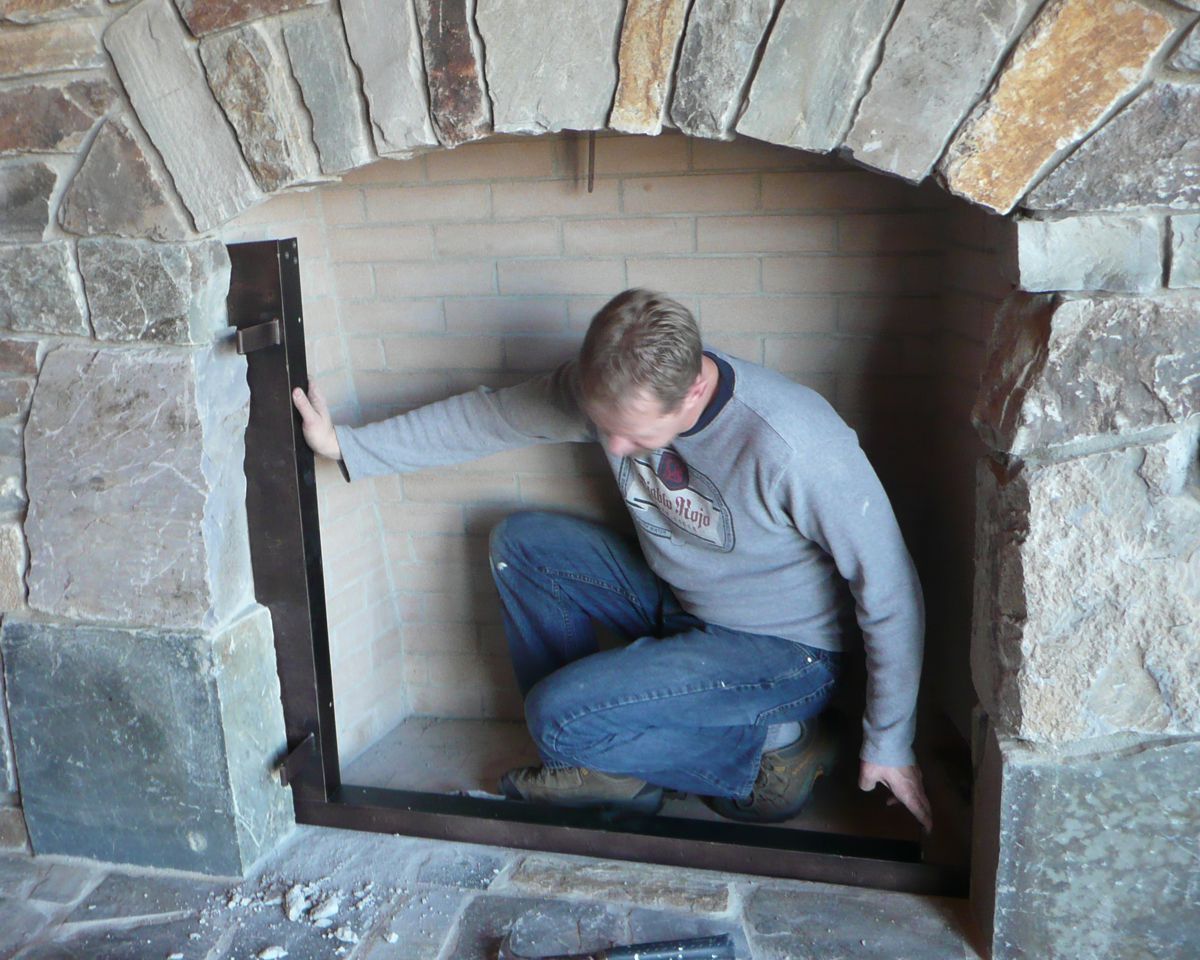
The detachable frame allows you to piece together the door frame inside the fireplace behind the facing. This is particularly useful for rock or ledger stone fireplaces where the stones are too irregular to consider fitting the door inside the stones and filling the gaps with mortar. This is available with the Hand Crafted wrought iron doors only.
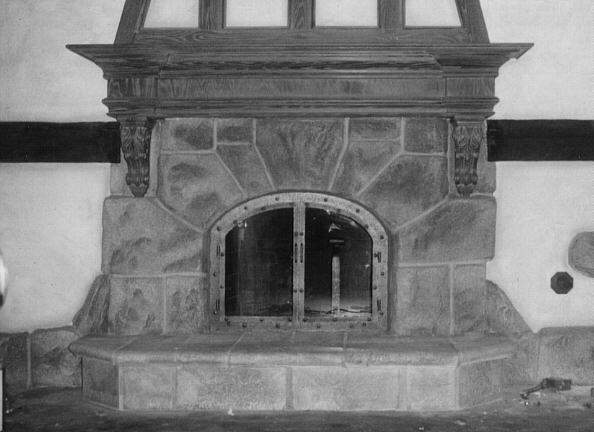
When treating a rock or stone fireplace with a glass enclosure, don't let your local hardware store talk you into purchasing one that is mass produced to fit on the outside of your fireplace. It won't fit flush and will look like an afterthought when it is installed. On top of that It will detract from the natural beauty of the stone.
The customer who purchased the glass doors pictured in the above picture had a very custom "Medieval" look in his homes architecture and decor. He did not want to have glass doors for the fireplace, but unfortunately local codes required it.
After shopping around he was upset and frustrated because everywhere he went, all that was offered were glass doors that would destroy the look that he was trying to create...that is, until he found found us.
We designed a very rustic looking glass door that not only fit the shape of his fireplace, but added to the overall decorative appeal he was trying to acheive. As you go back and look at the many custom options that we have for glass doors, you will find that we can do this for any style for fireplace.
We custom make doors that fit inside the opening and can tell you how to install it with mortar so that it looks like you built the rock around the door. If you cannot do the installation, you can certainly find a local mason who will know what to do.
Having a custom made door for an arched fireplace like the one above is a simple matter of making a template by cutting a piece of cardboard that will fit inside the opening leaving about a 1/4" to 1/2" gap between the narrowest points.
If there are any stones that protrude much further than the rest of the stones, you may wish to consider cutting them back with a chisel to a point to where the mortar joint between the door frame and the stone appears natural. We can help you with that if you don't know what to do.
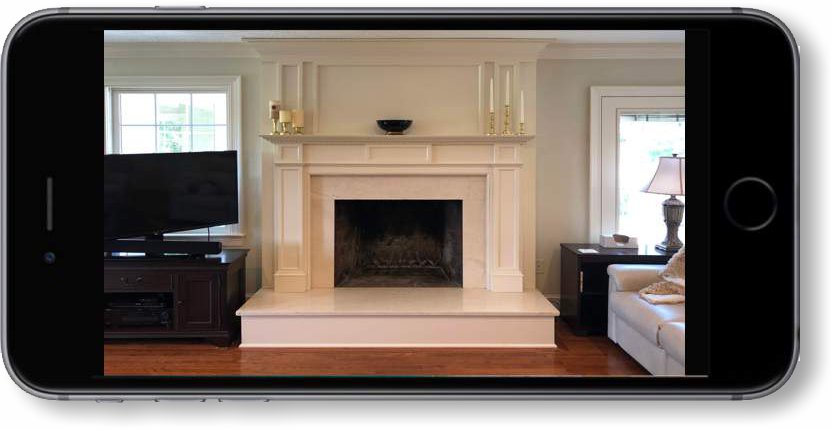 Photo #1: With your camera sideways, take a picture directly in front of the fireplace from far enough away to see the entire fireplace floor to ceiling like this. Photo #1: With your camera sideways, take a picture directly in front of the fireplace from far enough away to see the entire fireplace floor to ceiling like this.
|
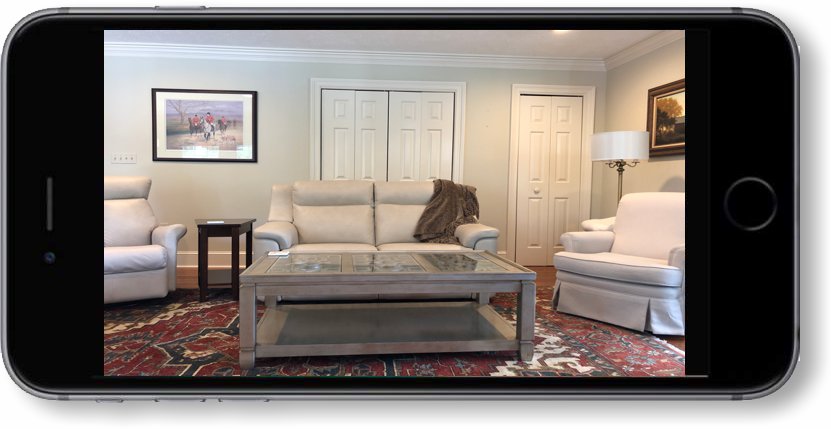 Photo #2: With your back to the fireplace, take a picture looking straight out into the room so we can see the decor directly in front of the fireplace. Photo #2: With your back to the fireplace, take a picture looking straight out into the room so we can see the decor directly in front of the fireplace.
|
Privacy Note: Your privacy is very important to me. I will never divulge your email address or contact information to any entity outside of my company unless necessary to process your order. I reserve the right to post your pictures on my website along with your comments so others can view your project for ideas. In any case, I will not post your last name or contact info on this website. By using my design service, you are giving me all rights to post your photos and comments on any of my websites and marketing materials.
Stone Manufacturing has closed their manufacturing facility permanently. Items featured on this website that are made by Stone Manufacturing are no longer available. If you are interested in any their products, please email: greg@fireplacetreatments.com with subject "Stone Mfg" and I will do my best to help you find a viable alternative.